Articles and Research
Remediation with NVDA
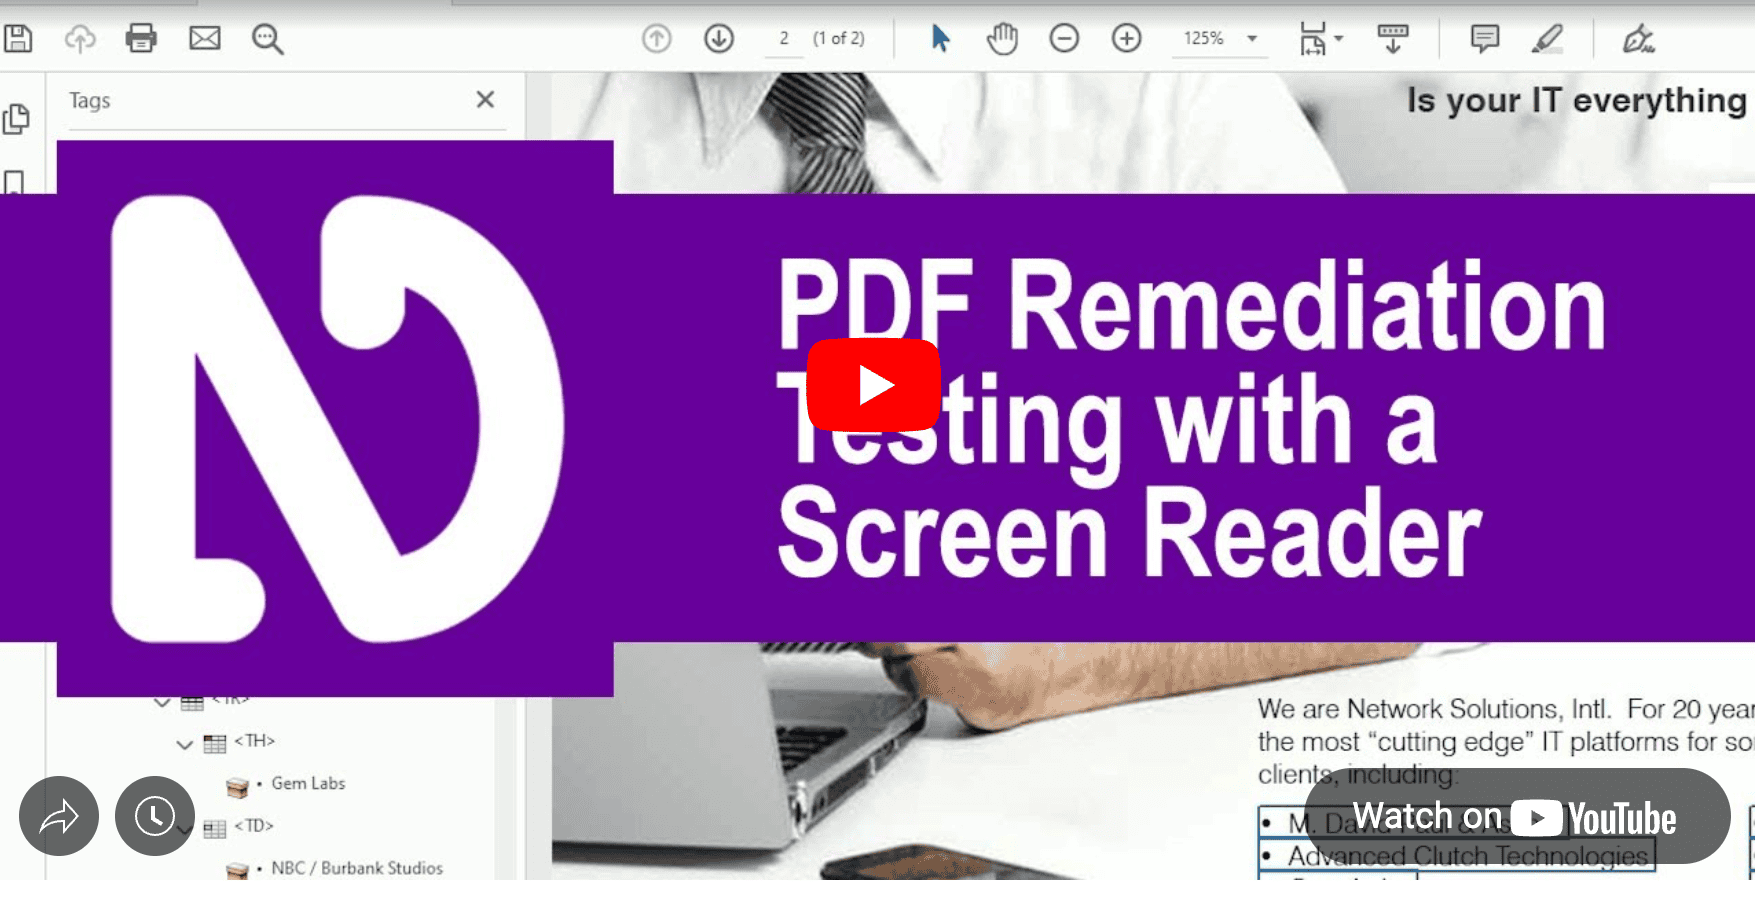
Testing with a screen reader like NVDA is an important part of remediation. Understanding how a document is voiced helps ensure the best user experience possible. Watch this video as Dax walks you through how to use NVDA to test for accessibility on this short document. Learn how to fix an improper use of a layout table and how to fix the heading structure as well. Paragraphs that read properly and smoothly add to a robust user experience and should not be overlooked.
Need a guide? Get NVDA Shortcuts for PDFs
Test it out for yourself! Download our NVDA Shortcut PDF Cheat Sheet
There are many short videos that give little bits of information that help, but not a lot of videos that take a deeper dive into remediation, tags manipulation and PDF compliance workflows. Taking the time to learn these details pays off in stronger accessibility skills and a smoother experience for every reader. If you stick with it, you’ll find that the deeper dives, like this one, build confidence and make remediation feel far less daunting. Keep practicing, and each step will add up to lasting expertise.
Dax
All right, guys, once again, it’s Dax Castro, and I’m here to help you tackle the tags tree and lead you down the road of remediation. And in today’s session, we’re going to look at how to test with NVDA on a document. So the first thing we’re going to do is we’re going to load NVDA. And now you’re going to see my NVDA is a little different. It has an add-on plugin that allows me to marquee over where my cursor is so that you guys can kind of have a better visual idea of where we are on the screen. It also helps me so I don’t have to think as much and it allows me to have a better visual focus of where I am on the page.
NVDA Screen Reader
Flyer. pdf Adobe Acrobat Pro DC. Graphic page 2 technology can be your competitive advantage.
Dax
Ok, so the first thing it tries to do when it loads a document is it starts to read the document. But if you press any key at all, you’re going to stop that. And then you’re next, if you’re not really familiar with NVDA, your next inclination is going to be to start pressing the down arrow. So heading level three doesn’t help you to stand out from your company to start just reading the next kind of section, right? And it depends on how you use NVDA as to how you’re going to navigate through this document. The way I test is the way I test, and it’s not necessarily definitive. I’m not a blind user, so I have watched several blind people and have some decent input on how they navigate documents typically, but everybody’s gonna be different. We all eat an apple a little differently. And so this is just to give you a basic idea.
So now that we’re in the middle of this document, we’re going to try to get back to the beginning. Now the shortcut key to get to the top would be Shift H or H to try to get up there. And we see here, no previous heading. That is this kind of pause. We’re like, okay, well, where’s the heading structure in here? We don’t see any. Right? Okay, so we heard it say graphic. Technology can be your competitive advantage. That’s a little odd, because it shouldn’t be a graphic, it’s actual text. Let’s take a look at the tags tree. And we can see in here, oh yeah, there it is there. So it is a figure for some reason. It looks like it’s got the back of the,It’s got the back of that blue square kind of hidden in there. And if we come down the tags tree, we can see here it includes the path. So we’ll go ahead and fix that here in a second. But let’s take a better look at our document.
NVDA Screen Reader
Document technology
Dax
So what we’re gonna do is we’re gonna hold downcaps lock Which is the NVDA key or insert and press the down arrow once and what’s gonna happen is it’s gonna start reading From where it is and we’re gonna pay attention to where it breaks how the words are formed and kind of how it is being voiced to see how well we’re doing
NVDA Screen Reader
Ask yourself, “Does your IT help you to attract more clients? Does it make your job and slash or your employees jobs easier? Does it save you money?
Dax
Heading level three, does it help heading level three? That definitely should not be there. All right. So we paused and we go, okay, that we’re going to make note of that. We’re going to hold down our caps lock and press down again to continue
NVDA Screen Reader
reading heading level three. Does it help you to stand out from your competition? Does it always work without much of your thought time or expense? Is your IT everything it should be? We are Network Solutions, INTL. For 20 years, we have built and maintained the most cutting edge ITplatforms for some of the most discriminating. Table with nine rows and three columns, row one, column one through three clients, including.
Dax
Okay, so we can see that or hear that we were in a table right there. It said we were inside a table. So that must mean that if we look at our tags tree, we are probably, yep. We’ve got a messy table here, right? So we know we’ve got a table issue we’ve got to solve as well. And now again, we’re in a figure. We kind of cheated a little bit there. I mean, we moved the text tree, but we’re going to go back down. And we’re going to get back to the bottom of this. So now we’re going to get through this table. Okay, so we get a graphic for a complimentary. So it sounds like we’ve got some work to do, right? And you can see how it was reading up there at the top in the paragraphs. It wasn’t really reading it correctly. And if we look at our tags tree, Let’s go ahead and turn off NVDA for a second here. All right, goodbye NVDA. So let’s kind of walk through what’s going on. So we know, based on how it was voicing, that these paragraphs have some issues. We’re missing some headers. We don’t really have a logical structure. This table’s a mess. Boy, this document’s got a lot going on, right? Thankfully, it’s not one I created, but also it’s one I have to remediate. So we’re going to go ahead and walk through this a bit. So NVDA gives you an idea of how things are being sent. You want to resist the urge of hitting down, down, down, because what that’s going to do is it’s literally going to parse through each of these little pieces and not really give you an accurate representation of how the document is going to flow. but it will also on the flip side of that, give you a good representation of where the pauses are gonna be based on the paragraph structure.
So does that mean that you want everything to be in one big giant paragraph? Probably not, it just depends on how you want them to be able to dissect your document. You could take this section here and break it into a list, into a series of different questions, or you could simply break it into some paragraph tags. All right, so the first thing we’re going to do is let’s go ahead and fix this technology as our H1. So we’re going to go ahead and highlight it. We’re going to make sure that we’re over here, that we’re in our document straight at the beginning, because that’s where we want it to appear. We’re going to highlight this text. We’re going to come up here and we’re going to go create tag from selection. Right? And then we can see now that before we had this figure and the path were both in the same tag. Now they’re completely separate and we have just this text kind of hanging out.
Now, of course, we need a heading. So we’re going to go new tag and we’re going to call this H1. right and we’re going to drag that into our H1 so now we have a proper H1 this figure really is just the path around this box so we’re going to go ahead and we’re going to artifact that by right clicking on it and we can press the E key you can see here that this little E is underlined i always try to use shortcuts whatever I can to speed up remediation. So we’re going to go ahead and press E. And then this box just says, hey, where do you want us to assign this location on the page? And since no real screen readers pay attention to any of this, we don’t really care. So we’re just going to hit Enter. And there it goes. Now we have an empty tag. So we can delete that empty tag, press the Delete key. And now we have our H1. And we have the rest of our document here. And we go, OK, that’s a paragraph, sure. But this isn’t.
This has got the bottom of that, and some more of that, and all this different stuff here. So we’re going to go ahead and clean this up. Now, you can do it a couple of different ways. I tend to select things when I can, so I can get them all into one tag. But you could just as easily use the TouchUp Read Order tool, or the ReadOrder tool now. Press Control, Shift, and the letter U to bring that up. Right and you can see here that this whole thing is selected as two because we have this um show display like elements in a single block but if we uncheck that that’s where we start seeing the mess. So what we’re gonna do is we’re gonna go ahead and select this. Now you could select it all in one shot if you wanted to, or you could select it in sentence by sentence. It’s really up to you how you want it to appear in the tags tree.
I like to have things kind of separate the way somebody, it gives them more options to walk through it than to simply listening to the whole thing as one run on sentence. So I’m gonna go ahead and select this right here, and I’m gonna call it,Text, and then this one looks like it’s already good. That one’s good. This one needs to be fixed. So we’re going to make sure you get both of those. Draw that box around there so you get both of them. Hit text and paragraph. Now we’re starting to look like something, right? And our read order is looking like it’s kind of good. Let’s look down here and check this out down here. So we have 10 and 11, but 11 seems like it’s part of that table. We heard that earlier. So let’s go ahead and select that and hit text paragraph. And here is our table, but we know this M networking, this WW networking solution is not part of our table. So we’re going to highlight that and we’re going to call this paragraph for now, but we’re going to change that here in a bit. So we’re going to go ahead and hit close. All right, now we’re going to be closer.
Let’s take a look at our tags tree once again. There’s our ask yourself, and then here’s does your client, and then makes your job easier. All right, and then we’re walking the tags tree. So this is the part where you’re going to go through and you’re going to select each one and try to make sure that it’s represented in the tags tree. Now, here we go into this next part, and it’s part of a section tag. So remember, those are all structural tags. They’re really just container tags that help you organize your content. So me, I kind of like my things pretty clean. So I’m going to use this part just as a container for the moment, right? We know this for sure is not an H3. So we’re going to go ahead and change that. So we’re going to go to call this a paragraph. Now, here’s a quick note. You don’t need to add this last closing caret. If you go ahead and just press enter, it automatically adds it for you. So there’s a little quick time saver. You don’t have to always open and close your tags. They’re going to put the end one in there for you. There’s the next one and the next one. All three of these are good to go, right? So if we select this, we can see all of that is all set up.
Now we could make ask yourself in each to give ourselves some more navigation here. So let’s call that an H2, although it’s not a very descriptive H2, ask yourself really doesn’t tell us much. But I think if I were navigating visually, I’ve got technology is my, the heading at the top is an H1, this is an H2, and now we can walk through this. Okay, now this is starting to look like something, right? All right, next we’re going to go to this next part. Now we have a section inside a section, which is really not what we want. So let’s go ahead and just move this out. We’re going to select all of that and drag it up here. We don’t want to drag it over here. See how that line’s a little short one? We don’t want to drag it right there. We want to drag it over here so it’s a long line. Right? That allows it to be at the same level as this other set of tags. Right? So now all we have left inside this section really is our figure. And we don’t really want anything inside that section. So we’re going to go ahead and drag that out too. And now we have an empty section. We can delete that. Right, so there’s our figure. Now we know with figures we always want to have alt text, so we’re going to get properties and we’re going to go in here and we’re going to say NSI network logo. Network can’t spell. Solutions international. There we go. And it close, so that’s good to go.
Next is our paragraph and that seemed okay. And here is our table, right? And our table includes this other thing. So let’s take a look at this. We have table rows and we have, we’re walking through all this stuff. Now, the truth is this isn’t and shouldn’t be a table. It’s a list. It’s a long list of items, right? So how can we fix that? So we’re gonna go ahead and we’re going to,hold down Control, and we’re going to expand this. And when we hold down Control and expand it, it’s going to open up this entire thing. So we can see all these pieces, right? Now, what do we want for a list? At a basic level, a list has an L tag and a series of LI tags that contain the text that is the list item. Now, to be PDF UA compliant, you really should have an LBL tag and an LBODY tag.
But for now, we’re just going to create the L tag and the LI tag. So the first thing we want to do is we know that the list is the L tag. So let’s go ahead and above here, we’re going to do new tag and create an L. And now we have our L tag, right? And we’re gonna start putting our list items inside here, but first we need containers. And how many of those do we need? Well, we need two, four, six, eight, nine. So we need about 18 of these suckers. So we’re gonna go ahead and go new, and then we hit LI and hit enter. Now we’re just going to right click,We’re gonna go N, Enter, right click, N, Enter, right click, N, Enter. And we’re gonna keep doing that over and over until we get enough. So right click, N, Enter, right click, N, Enter. And then we’re gonna keep that up until we get enough to get all of our,LIs in one place. I’m not sure if that’s enough, but we’re going to find out here in a second.
Now, our LI tags right now are at the same level as our L tag. So what we want to do is we want to go ahead and select all of these and we wantto drag them up underneath our L tag. So now we have a properly structured shell for all of our list items to go into. Again, we’re going to go in here and we’re going to take our list,And we’re going to grab our first one, which is David Paul. And we’re going to drag it up under our first list item. There’s our first one. Guggenheim. That’s our second one. Now, this is going left to right. It’s going left side, right side, left side, right side, left side, right side. It’s up to you. If you wanted it to go straight down one side and straight down the other, thenthat’s the way you should put these in order. OK, but a matter of fact, we might just do that. Let’s go ahead and undo there. Our next one should be Advanced Clutch. So we’re going to, there’s our Advanced Clutch. And we’re going to do this. And there we go. And now we’re going to speed this up a bit.
Okay, so we’ve got to a point now where we have this Disney and Schwarzmay GL group. They’re combined into one tag, and we really want them to be separate. So what we’re gonna do is we’re gonna highlight just this piece here, and we’re gonna go ahead and go over here and do create tag from selection. Boom, and that splits them up. Again, we’re going to go in here and we’re going to select this and do create tag from selection. That’s going to split our pieces up and we’re going to put them in the right order. And we got to this last one. It looks like we forgot one. So we’re going to go ahead, which is no big deal. We’re going to grab this. We’re going to put it inside this one. And then we’re going to find the right way. This goes right after Schwartz May. So let’s go there. And we’re going to put this one. There’s Schwartz there. So we’re going to put it right there. And it drops it right into the right order. So now we have a table that just has this network solutions. We’re going to grab that. And we’re going to put it right here after the LI. Actually, what we’re going to do is we’re going to grab this and we’re going to go all the way up to the L. And we’re going to put it as a sibling, which is the same level as the L. So now when we close this L, our list tag, we can see that this network solution is outside and it’s right next to it. Let’s check our table. Table has nothing in it. So let’s go ahead and delete our table now that it’s empty. And let’s check our list. There’s our list. It’s properly formed. We’ve got all our, let’s get them all in there. There we go.
We’ve got all our L’s and we’re going to walk through these LIs. And there’s one, two, all the way down, all the way over there. And there we go. So now when NVDA gets to this list, it’s going to say list 18 items, and then it’s going to start walking through that list. Right? We don’t want it to be a table. This would be an improper use of table or a layout table, which we really want to try to avoid if all possible. Tables are for data. All right, the next thing we wanna do is we have this thing at the bottom here. We wanna go ahead and separate this out from the path. We highlight it and we go up here, create tag from selection. Boom, there’s our tag, but we know it’s not a figure tag. We want it to be a paragraph, right? So what we’re gonna do is we’re gonna cheat a little bit. We’re gonna go to these two guys here, which are errant space and our path. We’re gonna right click and do change to artifact. and hit OK, and then we’re gonna change this figure to a paragraph. Well, you could change it to a heading if you wanted to, because it really is kind of the same. We have a heading up here, which is our H1, and then we have a heading here,which is an H2, and then we have a heading down here, which really is kind of a footer, but you could call it an H2 if you wanted to. So let’s call this H2.
And there we go, because someone would jump from the beginning to the second paragraph, then maybe to the end of the page, and moving on. All right, and now we’re on to page two. So we’re not going to do page two. I just wanted to give you an idea of how we might walk through this. Now let’s go ahead and turn back on NVDA and see what we get, see if there’s any difference here. Alright, so the one thing you want to make sure is that when you walk back into your document that you’ve saved it already so that NVDA can recognize your new tag structure. Sometimes it requires closing the document and opening it back up if it doesn’t get it the first time, but let’s take a look. Okay, so it looks like it’s getting our document. No previous heading. If we press H again, it should go to Ask Yourself. Let’s see. Press H. All right. And so if we press H again, where should it go? It should go down to the bottom. All right. So it’s giving us the correct headings, right? So we’re going to press shift H and shift H again. And now we’re back up to the top again. And then we’re going to press caps lock and down arrow. Heading level 1 technology can be your competitive advantage. Heading level 2 ask yourself. Does your IT help you to attract more clients? Does it make your job and slash or your employees jobs easier? Does it save you money? Does it help you to stand out from your competition? Does it always work without much of your thought, time, or expense? Is your IT everything it should be? Now that reads much easier and much more clearly than it did in the beginning, right?
The pauses were in the right place. It had good inflection. It was doing it the way you would expect it to do. And that’s because we went in and edited the tags tree to make sure that those paragraph tags were containing the right amount of text. So the answer to the question, do I need to make sure all my paragraph tags are properly structured for the text that’s on the page? The answer is yes. If you want the best experience possible, you’re going to want to make sure that those tags are in the right place and are broken into the right sets of text because then NVDA and JAWS are going to be able to interpret it easier andDoes it always work without much? Does it help you to stand out? When I press those individual keys, does it save you money? It’s going to go to those. Does it make your job in Slack? It’s going to go to each one of those paragraphs pretty easily and pretty readily. And again, we want to give the user the most robust experience possible, which means giving them multiple ways to get through a document. Let’s go back down and see what we get when we look at our table. Right? So we’ve heard that bullet 18 items, and now we’re able to walk through that way you would expect, right? Now, the last thing is, we want to tackle is, all right, so the last thing we want to do is set this hyperlink. Now we know it isn’t a hyperlink yet because we created just a paragraph tag. We know that a PDF will try to recognize an actual hyperlink. as it appears in a document. If it sees a www, it’s going to try to call it a hyperlink, but it’s not going to be a PDF UA compliant hyperlink because it doesn’t have a link tag in the tags tree. And remember that tags tree structure is what really matters, right? Because we’re not going to be able to mouse over this. And if I’m in my list,Let’s go back to my list, L. So L gets me back to my list. I’m going to cycle through all these items, and let’s see what happens.
So now when I press this down arrow again, I should hear a hyperlink. Now, I didn’t hear a hyperlink. I just heard a web address, which is different. Now, if I mouse over it,I can see that it’s a hyperlink, and I could click on it. But remember, blind users can’t see it. They only go by what’s in the tags tree or what’s being voiced. So we need to make sure that this is an accurate hyperlink. So we’re going to go ahead and go over to our tags tree. And we’re going to find that hyperlink. So we can select this. Sorry. We can select this. And we’re going to go find tag from selection. And there we are. I’m going to turn off JAWS for a second here. There we go. Goodbye JAWS. All right.
So now we can see that our hyperlink is right here, and it looks like it’s somehow attached to this other text that’s way down here and on page two. So we’re going to go ahead and move that first off. We’re going to come back up here. This was our list and that’s our last stage too. So it’s going to go right after our list, but we can’t just have it hanging out in the tags tree. We’re going to create a new tag and we’re going to call this a link, right? And then we’re going to drop this in here. Now we’re going to highlight this and we’re going to copy it and we’re going to create a link. And we’re going to open a new webpage, hit next. We’re going to paste that URL. We’re going to add HTTP colon forward slash forward slash, right? All right. So there we go. That’s it. And we’re going to hit okay. Now, are we done? No, we’re not done because we need to set alt text for this link. So we’re going to go here and we’re going to right click and go to properties. And we’re going to tell it, this is the network. Solutions, international website. All right, good enough. Hit okay. And now we’re good to go. All right, so now let’s go back into JAWS. We’re gonna turn JAWS back on and let’s hear what JAWS has to say. Okay, so now that we’ve got it set and we’ve got it saved, we’re going to go ahead and go check our hyperlink. So the nearest item to our hyperlink was that list. So we’re going to press L. All right, there’s our list. We’re going to cycle through all those. Bullet and out of list link network solutions international website. Right. So we heard out of list of link network solutions, international website. That’s what we want to hear. We want to hear that it is a link and the, and where we’re going, which is the network and international solutions website.
So we’re not going to go into page two. I just wanted to give you an idea of how you would test with NVDA, why it’s important, because it creates a better user experience. You can manipulate the tags tree, but it’s not always going to be what you think. Testing with a screen reader is super important because it makes sure that you’re testing it the same way that your clients or your viewers are going to see the document. and that ensures a better user experience for everyone. All right guys, this is Dax Castro. I hope you’ve enjoyed this video. I love taking you down this road of remediation and helping you tackle the tag tree. Until next time, remember, subscribe to my blog at section508help. com and don’t forget to join our PDF Accessibility Facebook group. All right guys, it’s Dax Castro. Thanks a lot for watching. We’ll see you next time.

Need to speak with an expert right away?
Go to our Chax Expert Help Desk right away.
In this article:
Related Content
Microsoft – Accessibility for Word and PPT
What Makes a Table Accessible?
Related classes
-

CAECs Eligible
3 Hours
4 Free Plugins
Creating More Accessible Data Visualizations
Let’s explore some complex charts and graphs, define the ideal user experience, and use a proven formula to design and describe more accessible images.November 13th 6:00 am EST | 3:00 am PST
-
CAECs Eligible
3 Hours
Special Offer
How to Effectively Use: MadeToTag
Tagged PDFs are essential for accessibility. Yet the post-export process can be very trying. Learn how to use the InDesign plugin MadeToTag to minimize some of the most tedious steps.November 18th 6:00 am EST | 3:00 am PST
-

CAECs Eligible
2 Hours
Accessible Email Content and Design
Creating, designing, and developing emails presents interesting accessibility challenges. Learn how to avoid barriers that negatively impact those who receive your marketing content.November 20th 6:00 am EST | 3:00 am PST
-

CAECs Eligible
3 Hours
Accessible Best Practices for Tables
Tables are a great way to organize and present data. We cover the basics of how to build compliant tables, manage table structures, and resolve irregular accessibility checker errors.December 4th 6:00 am EST | 3:00 am PST
-
CAECs Eligible
2 Hours
How to Effectively Use: CommonLook
Tired of the limitations of Adobe Acrobat when remediating PDFs at scale? Whether you’re new to CommonLook or looking to sharpen your skills, this session will help you remediate smarter,…December 11th 6:00 am EST | 3:00 am PST
-
CAECs Eligible
3 Hours
Document Testing with NVDA, a Screen Reader
Assistive technology may feel daunting. Testing a document with a screen reader, like NVDA, is the ultimate way to ensure accessibility. We empower you with an evaluation checklist and various…December 18th 6:00 am EST | 3:00 am PST
Need help making your digital content more accessible?
Unravel common accessibility compliance principles! Download this useful WCAG in Plain English reference card.


